Sunday 31 March 2013

Easter


Pic cred: 8tracks.com, artskooldamage.blogspot.com.au, eu.art.com, facebook, google images, imdb, tumblr, peteralexander.com.au, pinterest

Saturday 30 March 2013

DIY Cushion


I like to pretend that I'm creative (I really just know a bunch of creative people that help me look good).
My lovely mother is a dress maker/pattern maker/fashion designer and she is (very patiently) teaching me how to sew. 
Here's my first attempt (I promise I made it myself, Mum wouldn't do any of it for me, she just guided me)
Okay it is my mum's sheep skin, but it looks good on it!
Here's a little step by step if you want to try this out!

What you need:
  • Fabric of choice
  • Cotton same colour as fabric
  • Cushion insert
  • Pattern paper (or equivalent)
  • Applique (gauze that you buy from a fabric store)
  • Felt (or equivalent for the applique)
  • Sewing machine 
  • Needle and embroidery thread

STEP ONE:
Prepare pattern for cushion and image (can be made out of brown pattern paper/cardboard or regular paper - might just not last as long!).

STEP TWO:
Cut out fabric for cushion, cut out applique image (be very careful when you do this, it can tear very easily and cut out felt image.
The applique is practically transparent, so don't be too heavy handed


STEP THREE:
Remove backing of applique (so you can stick it onto the fabric.
Tip: position the applique to your liking on the cushion before peeling the backing off, that way you can work out exactly where you want it before sticking it there permanently.

STEP FOUR: 
Carefully place the felt image directly on top of the applique.

STEP FIVE: 
Iron the felt at high heat (this melts the applique and basically turns it into a strong glue). Check the corners of the applique to ensure that it has melted and glued firmly. This may take 10-15 minutes.
Tip - place a bath towel/tea towel or equivalent over the top of the felt and iron on to that instead. That means that if the iron is too hot it won't burn your fabric or image and you have more control over the process. 
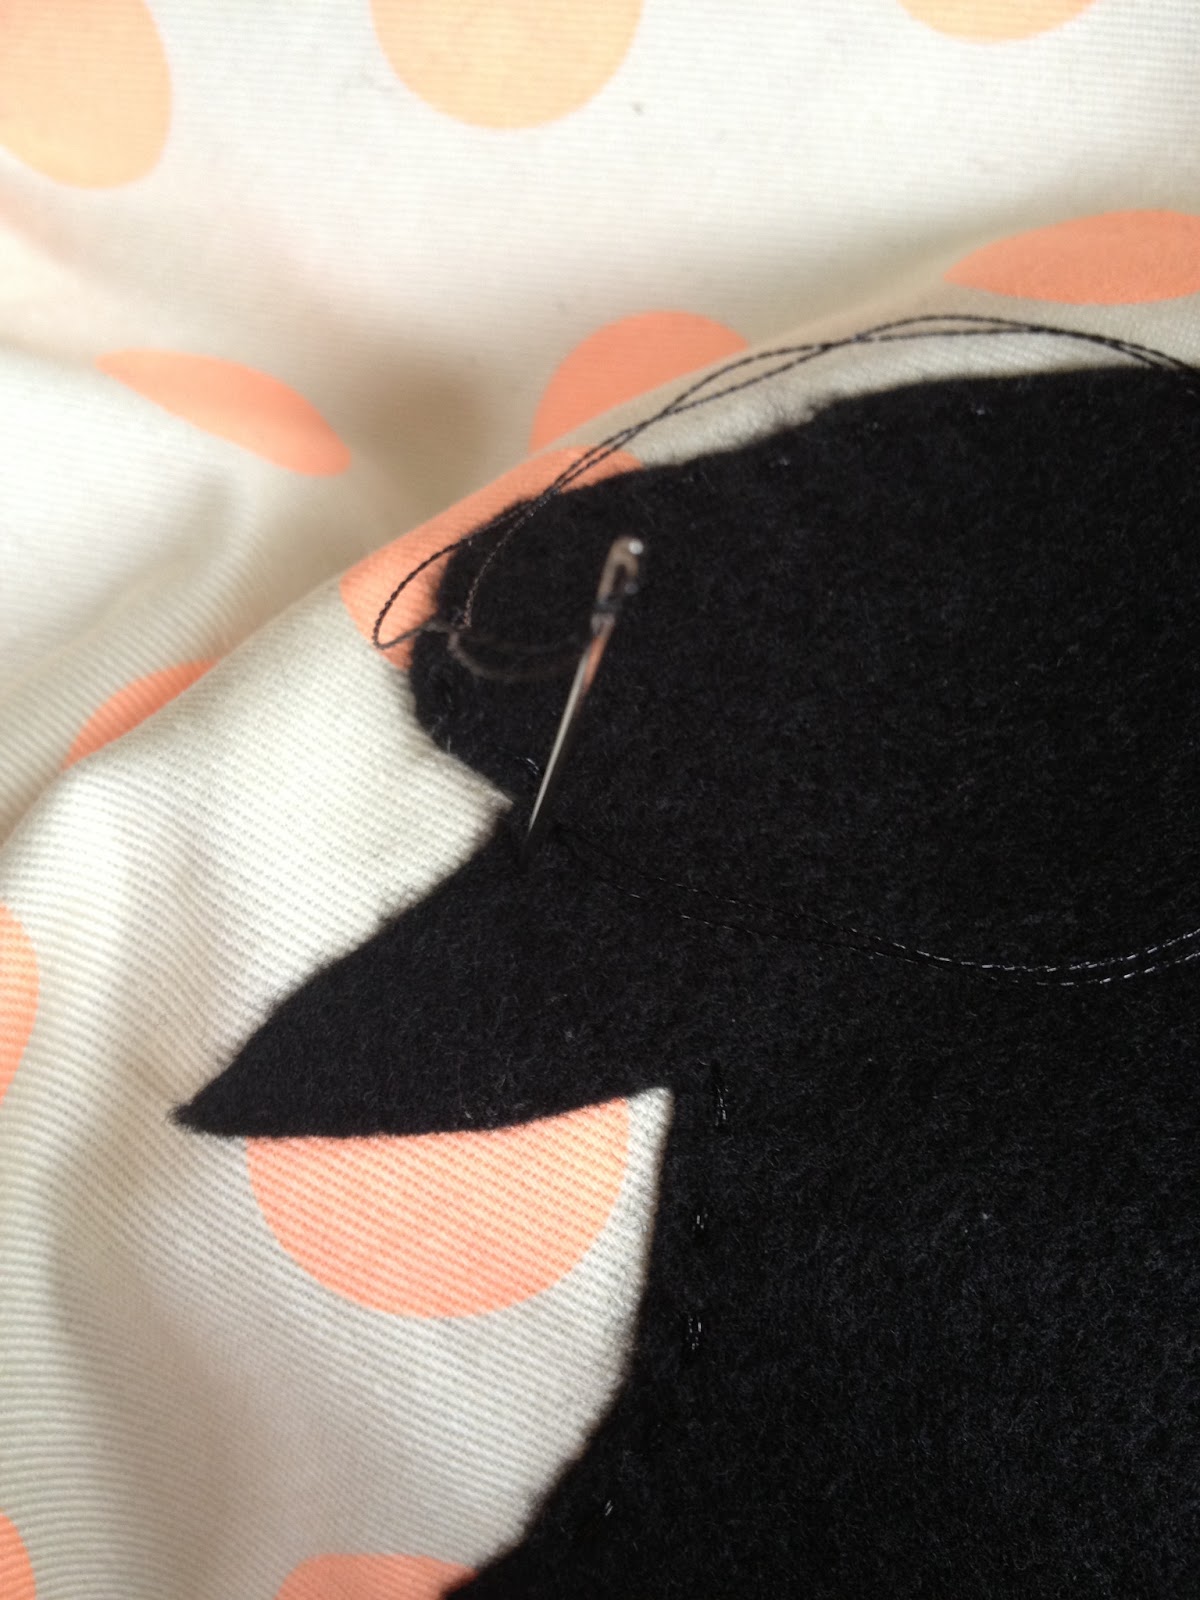
This is a different shape (not the elk)

This is what it should look like after the applique is ironed on
 

STEP SIX: 
Embroider on the image to ensure it's securely fastened and the little end bits won't come off.
Again (obviously) this is not the elk
But the concept is the same

STEP SEVEN: 
Sew the fabric together according to your cushion pattern. Personally I decided to make mine a 'fold over' at the back, as I do not consider myself advanced enough to sew on a zip or button holes (tip: use and iron to secure your folds and pin everything in place).

END PRODUCT:
End result! My dog Murphy (poodle shih-tzu) loves it

If you have any questions, want more details or if I've forgotten something, please let me know 
xx
Related Posts Plugin for WordPress, Blogger...